LVT Floors

Size 4.2x245x1522 mm

Alaska

LV251/PZ
Click LVT flooring

Oregon

LV252/PZ
Click LVT flooring

Colorado

LV253/PZ
Click LVT flooring

Kansas

LV254/PZ
Click LVT flooring

California

LV255/PZ
Click LVT flooring

Texas

LV256/PZ
Click LVT flooring

LVT Floors

Size 4.2x245x1522 mm  

Alaska

LV251/PZ
Click LVT flooring

Oregon

LV252/PZ
Click LVT flooring

Colorado

LV253/PZ
Click LVT flooring

Kansas

LV254/PZ
Click LVT flooring

California

LV255/PZ
Click LVT flooring

Texas

LV256/PZ
Click LVT flooring

Features

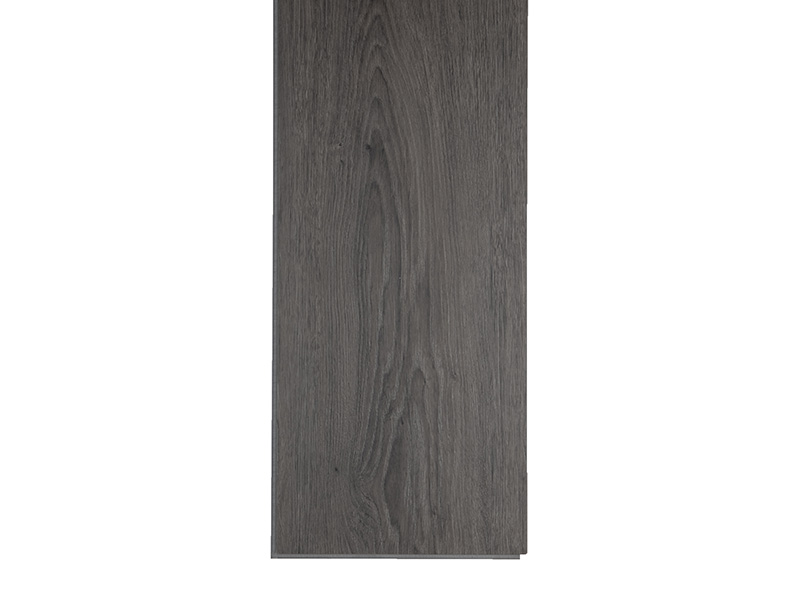
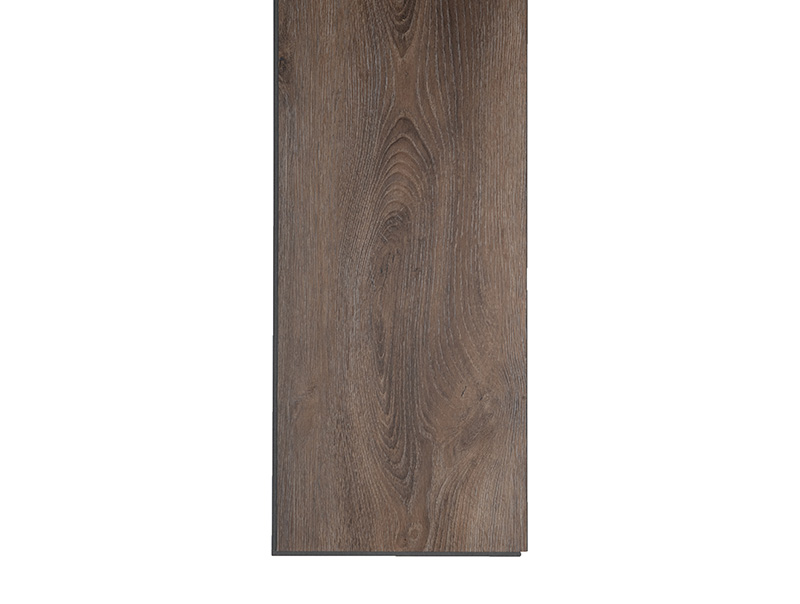
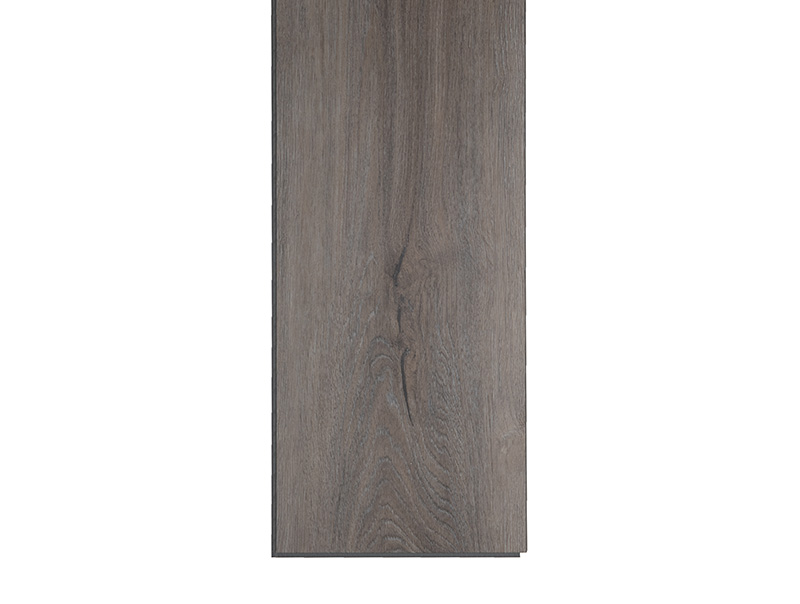
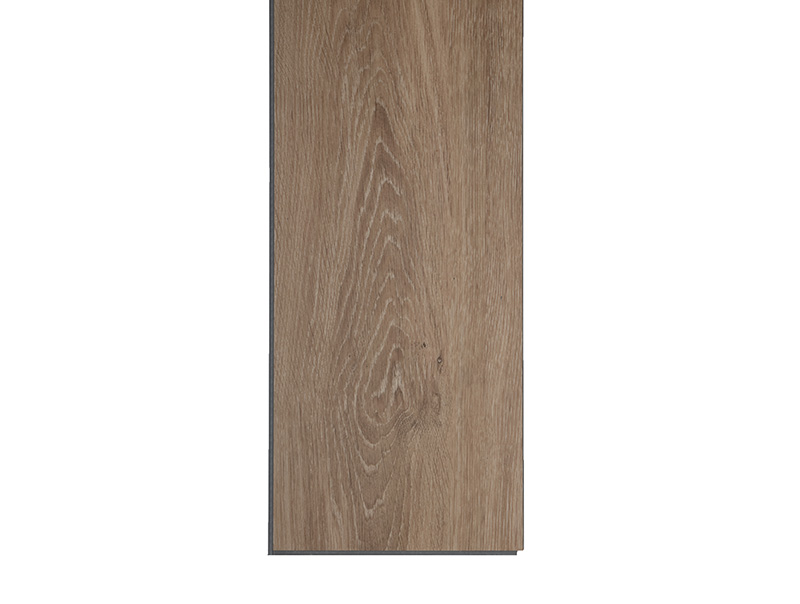
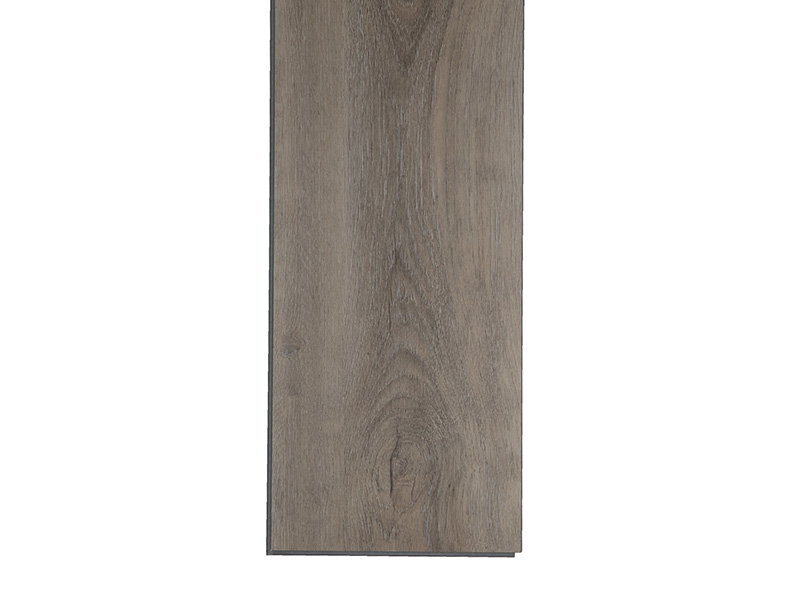
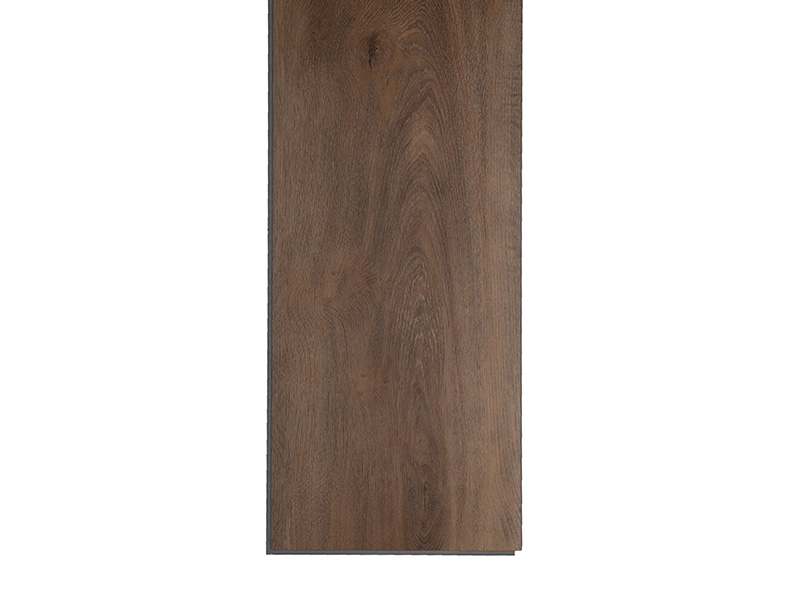
LVT – Luxury Vinyl Tile , the floor made with Dakota vinyl, offers the realism and aesthetics of wood with all the advantages of a stabilized, water-resistant and unchanging floor over the years .
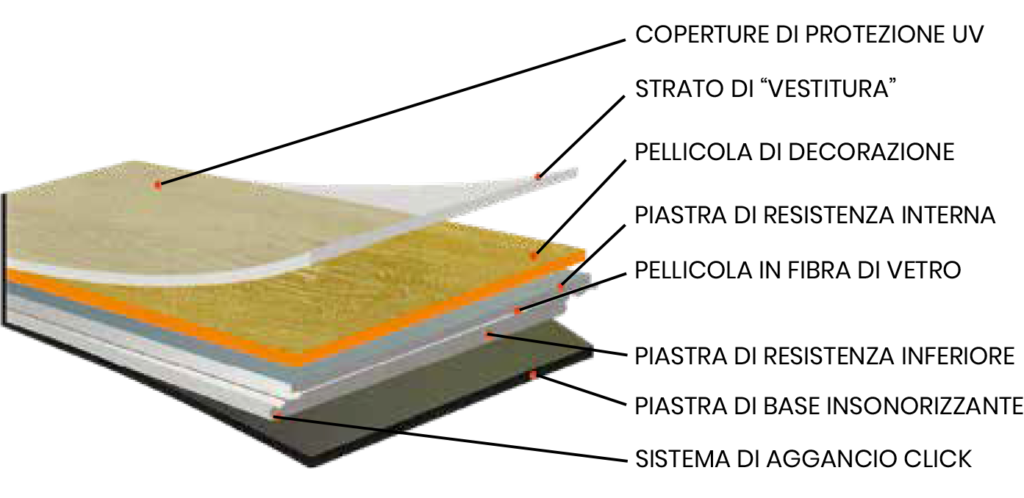
Warm, easy to install, sound-absorbing, robust, long-lasting and requires minimal maintenance.
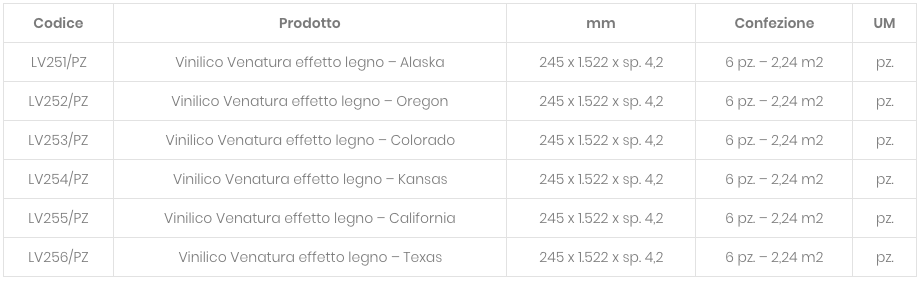
Its accessories allow optimal finishes, ensuring aesthetic homogeneity.

Codice Prodotto mm Confezione UM
LV251/PZ Vinilico Venatura effetto legno – Alaska 245 x 1.522 x sp. 4,2 6 pz. – 2,24 m2 pz.
LV252/PZ Vinilico Venatura effetto legno – Oregon 245 x 1.522 x sp. 4,2 6 pz. – 2,24 m2 pz.
LV253/PZ Vinilico Venatura effetto legno – Colorado 245 x 1.522 x sp. 4,2 6 pz. – 2,24 m2 pz.
LV254/PZ Vinilico Venatura effetto legno – Kansas 245 x 1.522 x sp. 4,2 6 pz. – 2,24 m2 pz.
LV255/PZ Vinilico Venatura effetto legno – California 245 x 1.522 x sp. 4,2 6 pz. – 2,24 m2 pz.
LV256/PZ Vinilico Venatura effetto legno – Texas 245 x 1.522 x sp. 4,2 6 pz. – 2,24 m2 pz.
Codice Prodotto mm Confezione UM
LV251/PZ Vinilico Venatura effetto legno – Alaska 245 x 1.522 x sp. 4,2 6 pz. – 2,24 m2 pz.
LV252/PZ Vinilico Venatura effetto legno – Oregon 245 x 1.522 x sp. 4,2 6 pz. – 2,24 m2 pz.
LV253/PZ Vinilico Venatura effetto legno – Colorado 245 x 1.522 x sp. 4,2 6 pz. – 2,24 m2 pz.

Assembly instructions

  1. Install the product from left to right in the room. Place the floor panel with the locking groove (female) facing the room. It is advisable to keep a distance of not less than 5 mm from the wall and any other obstacle present. This allows the floor panels to expand and contract naturally.
  2. Place the next plank with short side male inside the short side female and proceed in this way until reaching the wall.
  3. At this point, measure the space between the last laid plank and the wall (considering the space of 5 mm for any expansion). Cut the element with the cutter and fold it gently to graft the previous element.
  4. 1st element of the 2nd row: Always make sure that the departure from the wall is not less than 30 cm in length when starting the next row. When possible, use the cut piece of the plank from the previous row. If not available, take a new item and cut it in half. At this point, insert the long side male into the long side female of the previously laid, adapting the necessary angle and apply a slight downward pressure.
  5. Continue laying the second one by inserting the short (male) side into the short (female) side of the plank just laid and then, slightly bending the plank, continue inserting the long side.
  6. Continue in this way for all the following ones, not on arrival at the final point. Last row: if necessary, cut the first board in width (greater than 5 cm), insert the male into the female as in the others and continue with the other slats cutting them (if necessary) of the same width (be careful of the out of square).
  7. Door frames: use a floor plank placed face down to measure how much the majesty of the door must be reduced. Pipes: measure the diameter of any pipes present, remembering that the hole to be made on the surface of the floor must be made with a diameter increase of about 10 mm with respect to the diameter of the pipe.